Registering and Logging In
Creating an online account is easy, will save you time and will empower you to take control of your energy usage. There are many benefits to an online account:
- 24/7 access to your account information.
- Access to your energy usage information.
- Pay bills and view billing history.
- Manage your account settings like signing up for payment arrangements or budget billing.
- Manage your billing preferences like recurring payments and paperless billing and sign up to receive text notifications.
Click on Create an Account to get started.
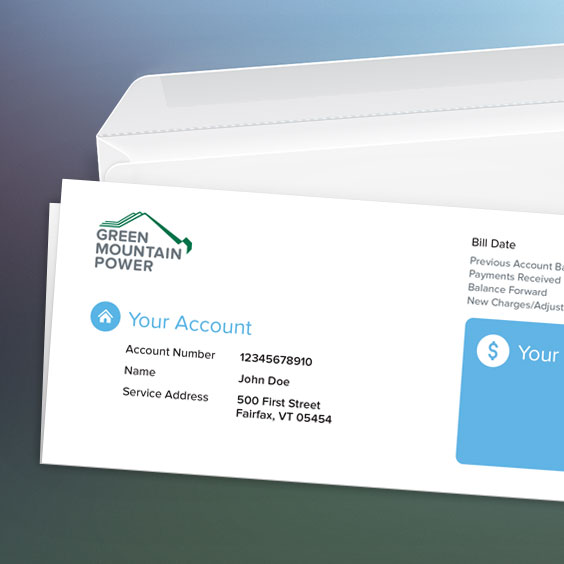
- To create an online account, click on My Account. Click on Sign Up then fill in each field of the registration form. You will need to have your GMP account number which you can find on your energy statement.
- Once the form is completed, click on “Next”.
- The next screen will prompt you to choose a username and a password. Confirm your password and then click the green “Register” button.
- You will be taken to a “Welcome!” screen. Click on the green “Log in” button.
- You can now log in to access your new account.
If you are having trouble trying to create a new account, please call us for assistance at (888) 835-4672.
If you have having trouble logging in to your account, check to be sure you are using the correct login and password.
- Try resetting your password by clicking on the “Forgot?” link in the password field.
- If Cookies has been disabled in your browser, this can cause login errors. Enable cookies and restart your browser. Google offers this resource page with instructions on how to enable Cookies.
- If JavaScript has been disabled on your browser, this can cause login errors. Enable JavaScript and restart your browser. Google offers this resource page with instructions on how to enable JavaScript.
- It may be that your session has expired. Try closing your browser and open a new browser window for gmpsnapshot.greenmountainpower.com.
If you are still unable to access your account, please call us for assistance at (888) 835-4672.
If you have forgotten the password you use to log in to My Account, follow the steps below to reset it.
- Click on My Account.
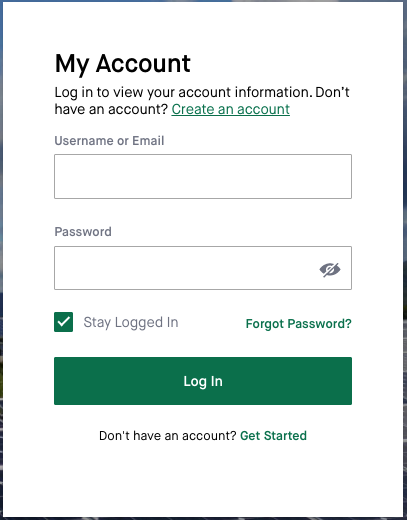
- Click on the “Forgot Password?” link in the password field.
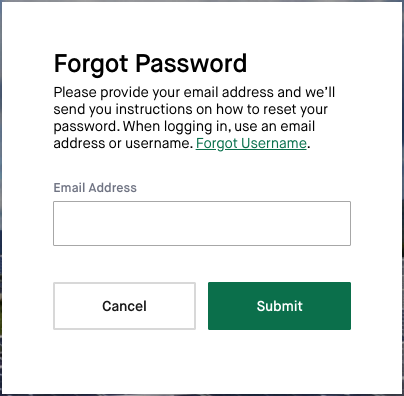
- Enter the email address you used when you set up your Green Mountain Power online account.
- Click the Submit button.
- Check your email inbox for a new message from Green Mountain Power.
- Click on the link in the email.
- Enter a new password. Make sure it follows the password requirements listed.
- Click on the Change Password button.
My Account Dashboard
Under My Account in the main menu, click on Make a Payment.
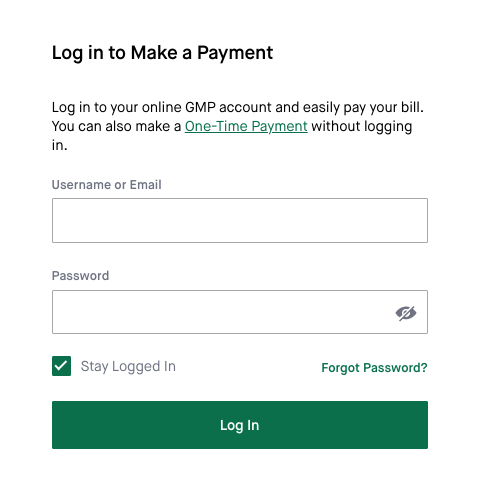
You will then need to log in to your online GMP account and can easily pay your bill. You can also make a One-Time Payment without logging in.
To set up more than one account, follow the steps below:
- Once you have logged in to My Account, click on "Manage User Settings."
- Under User Settings, click on "Add/Manage Accounts." Here you can find all the accounts you have set up.
- If you need to add another account, click on the "Add Account" button.
- Enter the account number, last four digits of your phone number and if you wish, a nickname for the account and Add.
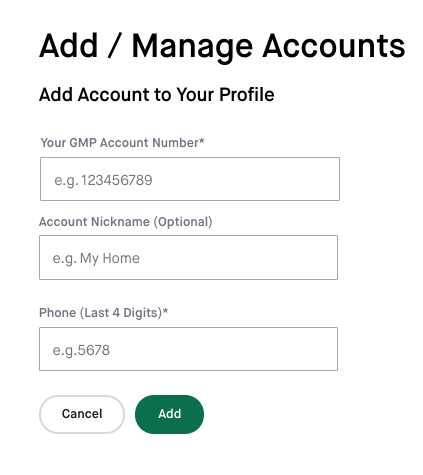
- Once added, the new account will be listed on the Add/Manage Accounts page with your other account/s and you can click on each account to view more detailed information.
- To designate which account is the primary account, click on "Set as Primary Account" next to the Linked Account of choice.

- If you need to edit information on any of your accounts or remove an account, click on "Edit Settings/Remove" which brings you to the Account Settings page.
Once you are logged in, your billing and payment history can be found on the My Account dashboard in the second row. Click on "View All" to see the full list and to find the bill you want.
To see the actual statement, click on the "View Bill” button next to the month you are interested in viewing. Clicking on the "Bill" will present you with a pdf version that you can print or download.
Once you have logged in to My Account, scroll down to "Usage This Billing Period."
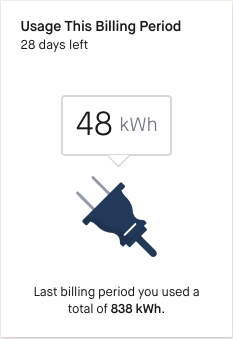
- Your Monthly Usage will be displayed.
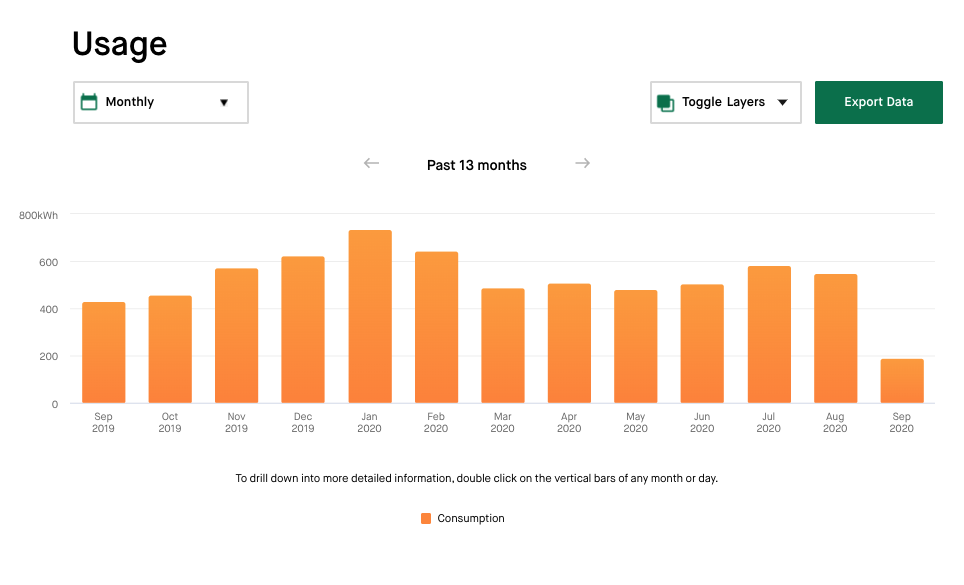
- You can drill down to display your Daily Usage by clicking on the kWh box.
- This will bring you to the past 13 months of usage where you can choose to look at hourly, daily and monthly usage.
- You can also factor in the temperature for each day onto the graph by clicking on "Toggle Layers."
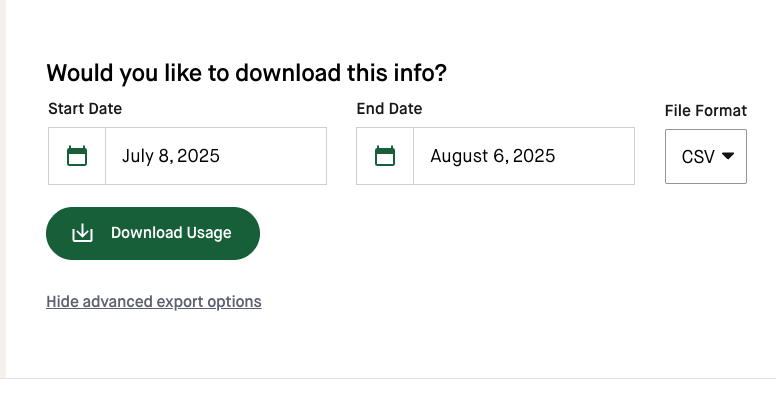
Once you have logged into your account, navigate to your Usage dashboard and scroll to the bottom of the page. You have two options for exporting your usage data:
- Click the "Download Usage" button to export your hourly usage data for past 30 days, in the form of a .CSV file.
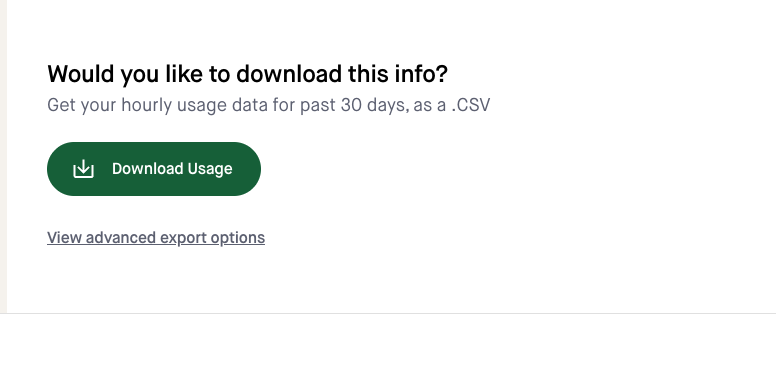
- Click "View advanced export options" to choose a start date, end date, and file format, then click "Download Usage".
Profile and Settings
If you have multiple accounts, follow the steps below to set the primary account:
- Once you have logged in to My Account, click on "Manage User Settings."
- Under User Settings, click on "Add/Manage Accounts." Here you can find all the accounts you have set up.
- To designate which account is the primary account, click on "Set as Primary Account" next to the Linked Account of choice.

If you would like to change your nickname, log in to My Account then use the steps below:
- Click on "Account Settings" in the menu on the left of the page.
- To the right of the Account Nickname heading, choose "edit."

- Enter the new nickname.
- Click Save.
If you would like to enroll to create a payment arrangement, follow the steps below:
- Login or sign up to My Account. If you haven’t registered for My Account yet, click on Create Account.
- Once you are logged in, click on "Billing & Payment" in the menu on the left side of the page.
- Click on the "Overview" tab and you will see the Payment Plan option to the right of the page.
If you would like to set up auto payments, log in to My Account or click on Create Account and then follow the steps below:
- Click on "Billing & Payment" in the menu on the left side of the My Account Dashboard page.
- On the Billing & Payment page, choose the Billing Preferences tab.
- To the right of the Recurring Auto Payments heading, click on "edit."
- Then click to move the switch to the right to turn on Recurring Auto Payments.
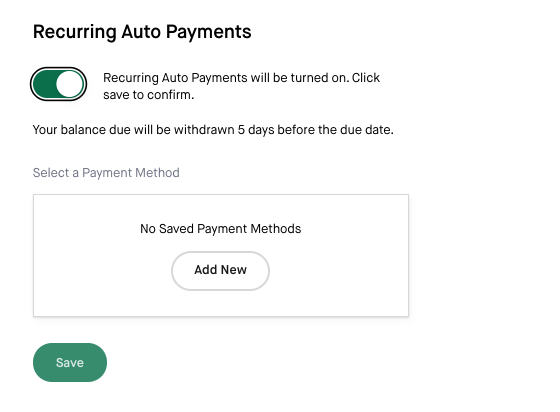
- Select your payment method or choose "Add New" to set up a new method.
- Once you have reviewed the information you have entered, click "Save."
- Your balance will be withdrawn 5 days before the due date.
If you would like to change your password, log in to My Account, then follow these steps to reset it.
- Click on "Account Settings" in the menu on the left of the My Account Dashboard.
- Then click on "Manage user settings" beneath the Account Settings heading
- Choose "Edit" to the right of the Password heading.
- Enter the new password you'd like to use and enter again to confirm.
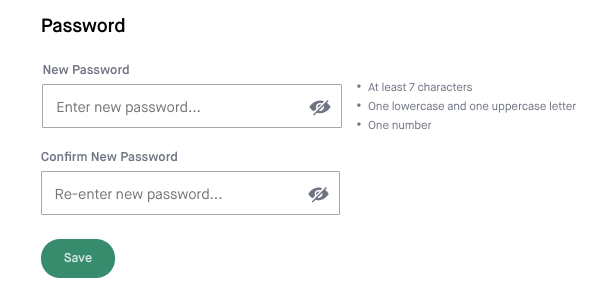
- Click "Save." Your password has now been changed.
If you would like to sign up for auto payments, log in to My Account or click on Create Account and then follow the steps below:
- Click on "Account Settings" in the menu on the left side of the My Account Dashboard page.
- Scroll down the page to Paperless Billing and click "Edit" on the right.
- Now click to move the switch to the right.
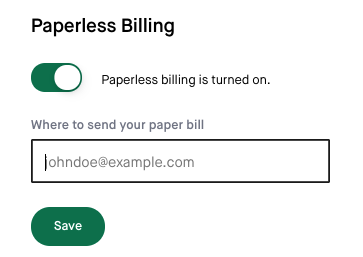
- Add your email address and click "Save."
- You are now signed up for paperless billing.